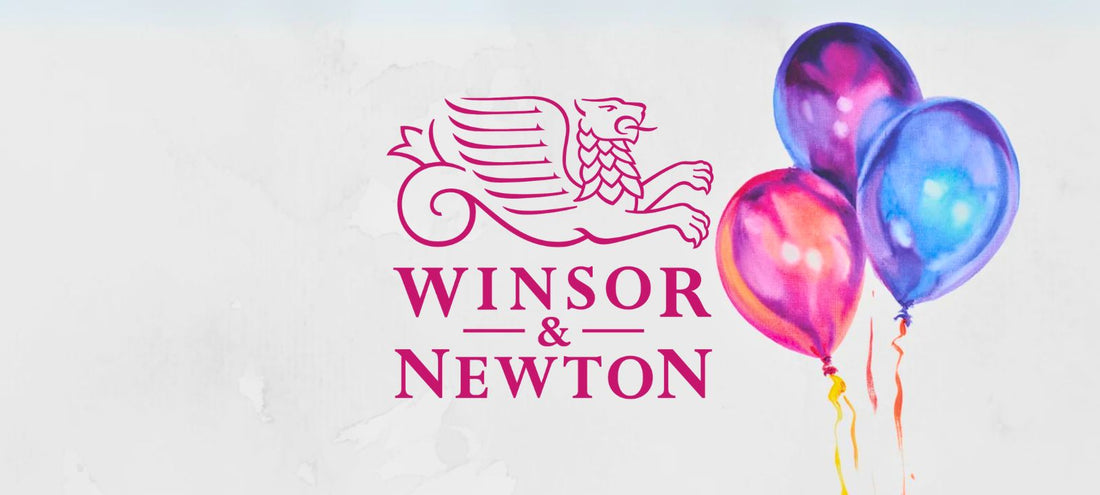
How to Paint a Balloon Using Oil Paint
Creating realistic balloons with oil paint is a fantastic way to explore transparency, light effects, and colour mixing. This tutorial, inspired by techniques from Winsor & Newton, will guide you through the process of painting a glossy, translucent balloon that captures light beautifully.
About the Artist
Kate Brinkworth is a British painter renowned for her photorealist approach to glossy subjects, film noir scenes, and reflective surfaces. Her work demonstrates exceptional skill in manipulating focus and lighting effects ; techniques that translate perfectly to balloon painting.
Materials You'll Need
- Oil paints in various colours
- White oil paint
- Artisan Linseed Oil
- Artists' Gloss Varnish
- Oil painting pad or canvas
- Various brushes including a large soft brush
Step-by-Step Tutorial
Step 1: Create Your Initial Sketch

Begin by sketching out your balloon composition using a thin, pale colour on your oil pad. Keep the initial drawing light and simple ; you're just establishing the basic shape and position of your balloon.
Step 2: Build Opacity and Depth

Mix white paint with your chosen colours to lighten them and create varying degrees of opacity. This combination of opaque and thinned paint is crucial for achieving realistic depth of field in your balloon painting.
Step 3: Create Transparency Effects

Thin your paint using Artisan Linseed Oil. Apply these thinned colours strategically to allow the white background to show through, creating that characteristic balloon transparency whilst maintaining vibrant colour intensity.
Step 4: Block in Key Areas

Identify and block in the areas of darkness, bright colours, and distinctive shapes. This stage helps establish the balloon's form and the way light interacts with its surface.
Step 5: Enhance Colour and Add Shine

Don't be afraid to exaggerate your colours ; balloons are naturally vibrant! Add mediums such as Artists' Gloss Varnish to create that characteristic shiny finish. Use a large, soft brush to blend colours smoothly together.
Step 6: Add Final Highlights

For the finishing touches, add pure white paint for the brightest highlights ; these are what make the balloon appear truly three-dimensional. Use yellow or blue paint to subtly alter the brightness and temperature of your highlights, creating more realistic light effects.
Tips for Success
- Study real balloons to understand how light behaves on their surface
- Don't rush the drying process ; oil paint needs time to properly set
- Experiment with different colour combinations to create unique balloon effects
- Practice mixing transparent and opaque applications for realistic results
This tutorial, adapted from Winsor & Newton's techniques, demonstrates how oil paint's versatility makes it perfect for capturing reflective and transparent surfaces. Visit Art Shed Brisbane for all your oil painting supplies, including quality paints, mediums, and brushes to help you create stunning balloon artwork.
Tutorial techniques courtesy of Winsor & Newton. Visit Art Shed Brisbane for all your oil painting supplies.