
Beginner Hand Lettering Techniques with Prismacolor
Hand lettering has made a massive comeback in recent years – and it’s not just a trend. The beauty of it lies in how personal and expressive it can be. Whether you're jazzing up wedding invitations or creating Instagram-worthy quote art, hand lettering allows you to ditch the fonts and let your creativity shine.
If you’re just getting started or want to level up your lettering skills, there are a few key techniques that will give your pieces that polished, professional look. Let’s break them down!
The Foundations: Brushstrokes & Structure
Before we get fancy with flourishes, let’s talk basics. Practising upstrokes and downstrokes is essential; you want light, consistent lines on the way up, and bolder, weighted strokes on the way down. Beyond that, learning how to space your letters evenly (hello kerning!), compose your layout, and take your work from a messy sketch to a clean final piece will set you up for success.
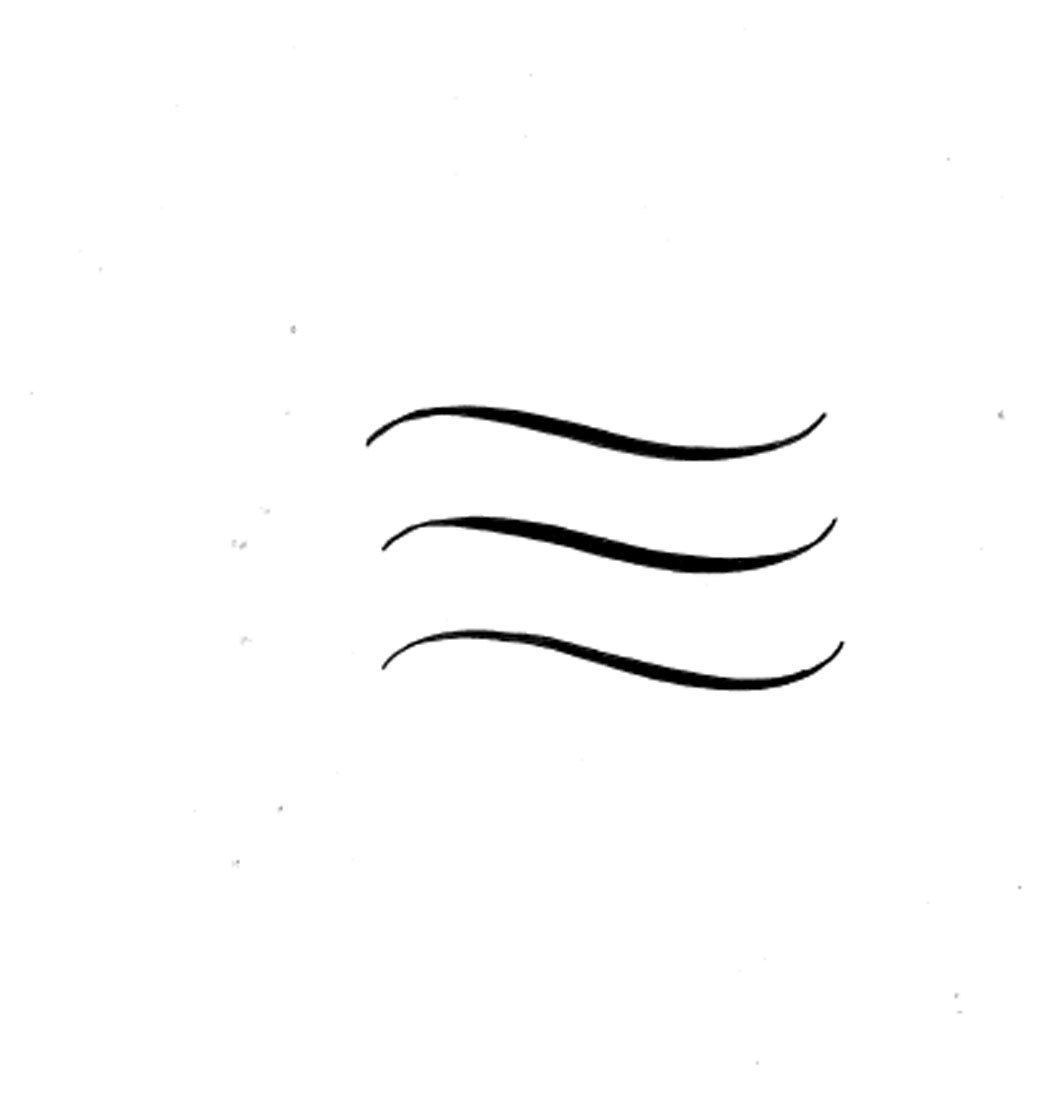
Finding Balance with Flourishes
Flourishes are those decorative swoops and swirls that bring drama and elegance to your lettering – but they only work if they’re balanced.
A good flourish creates harmony between positive (the inked) and negative (the empty) space. A great way to learn is by tracing! Print the guide below and trace over it until your hand gets used to the movement. It’s all about building muscle memory.
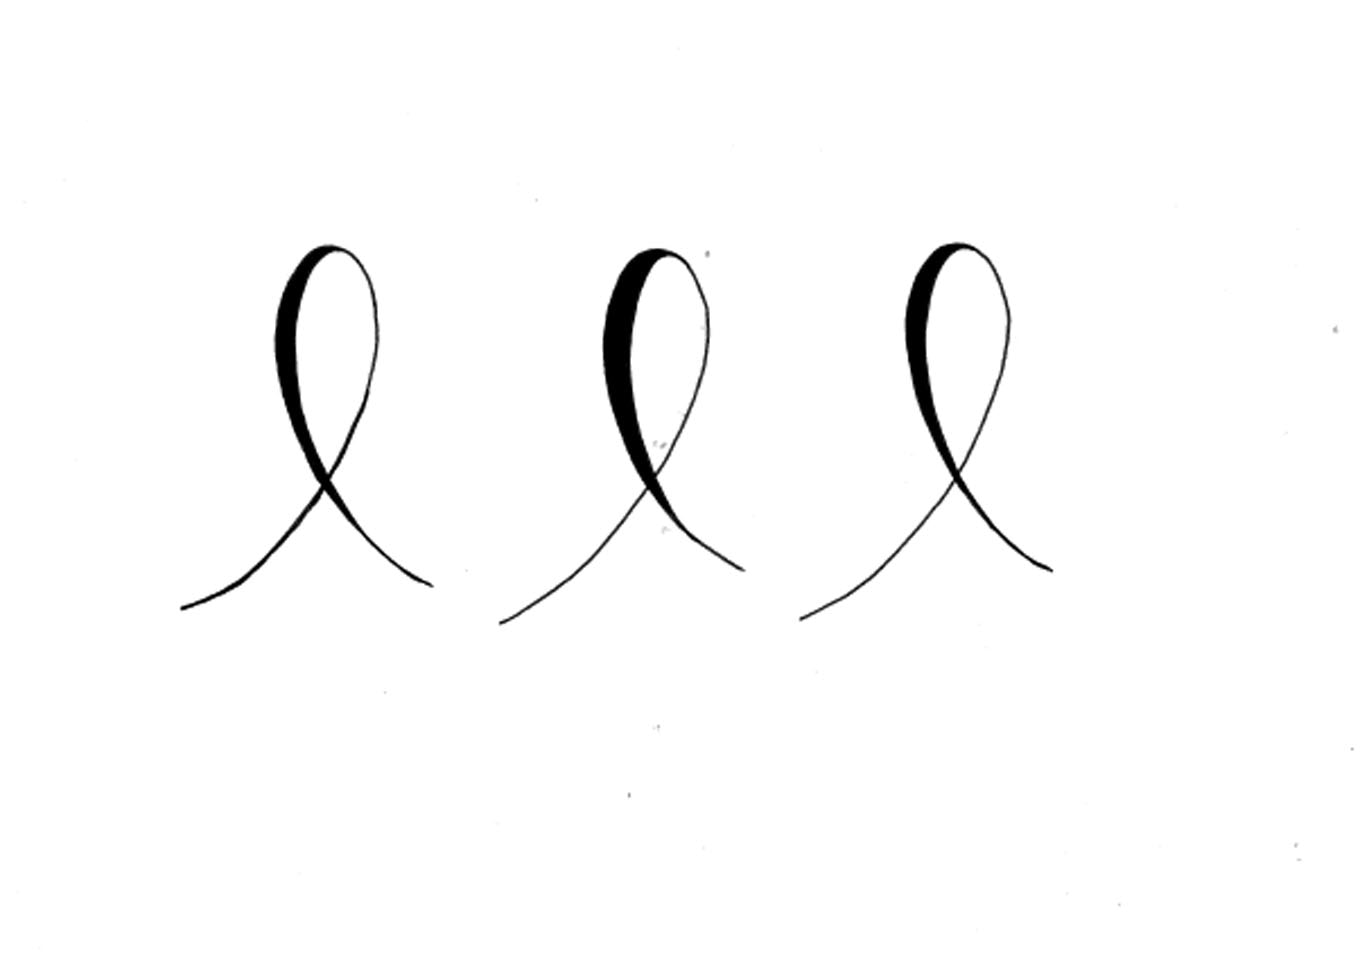
Overlapping Lines: Rules of Weight
Here’s a golden rule – thick strokes should only cross over thin strokes. If you overlap two heavy sections, the design can look clunky and unbalanced. Keep your eyes peeled for how your lines intersect and aim for harmony between thick and thin areas.
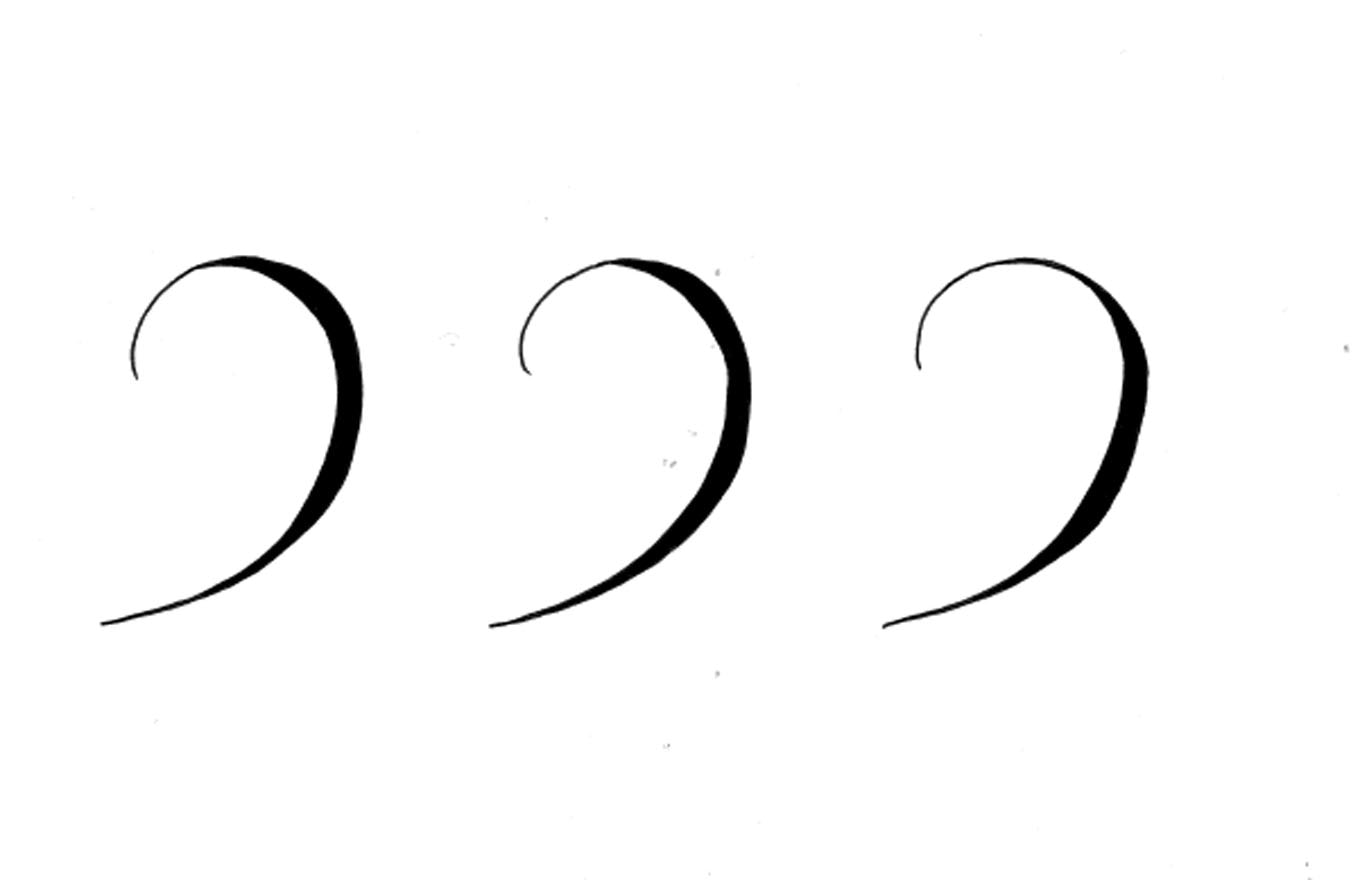
Curves: The "Tail" and S-Curves
Curves are the personality of your lettering! The “reverse E” or tail stroke is one you’ll use again and again, so it’s worth perfecting. Keep it consistent in width and shape, even if you tweak it slightly for style.
The S-Curve, on the other hand, is a more dramatic flourish. Use it to fill empty space or lead the eye around your composition. These strokes can vary in length, but the key is balance – both in visual weight and placement.
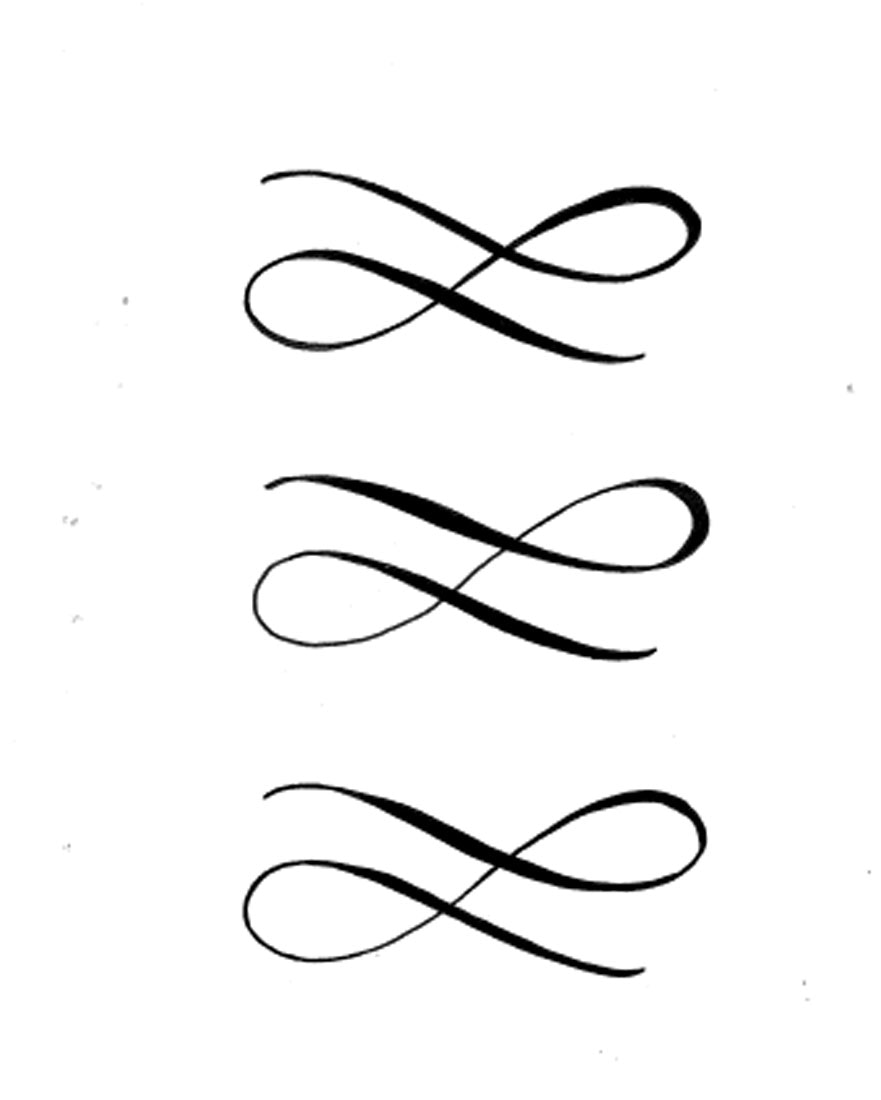
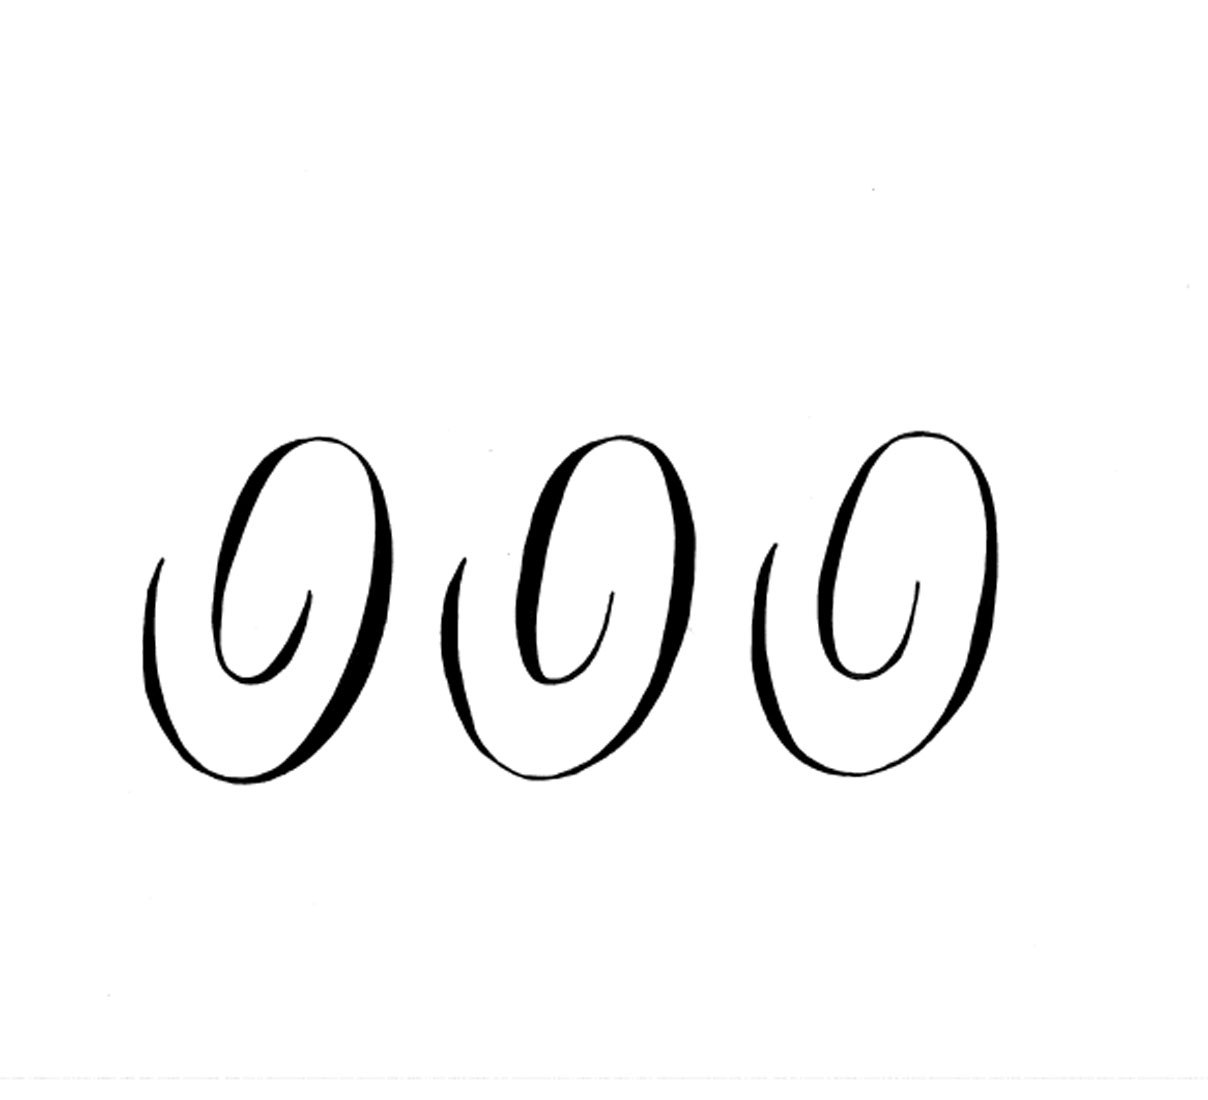
The Figure 8 Stroke
This one’s a classic! The figure 8 stroke is all about movement and symmetry. Your loops should mirror each other, and like with overlapping strokes, make sure thick lines intersect with thin ones for that crisp, pro finish.
Add these strokes into your next layout and watch your work instantly step up a level.
Hand lettering isn’t just about pretty letters – it’s about rhythm, balance, and practice. Grab your Prismacolor markers, start with these foundational techniques, and keep experimenting. With time (and a few pages of practice sheets), you’ll be adding stunning flourishes and professional polish to all your projects.
Happy lettering!